Avoid the Most Common Mistakes When Laying Vinyl Flooring

Avoid the Most Common Mistakes When Laying Vinyl Flooring
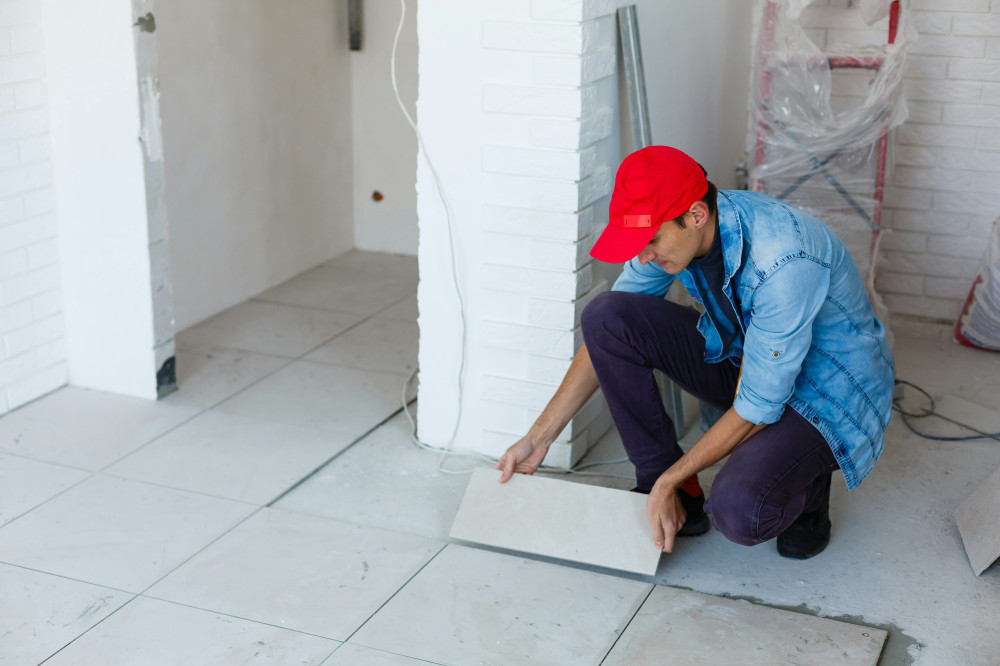
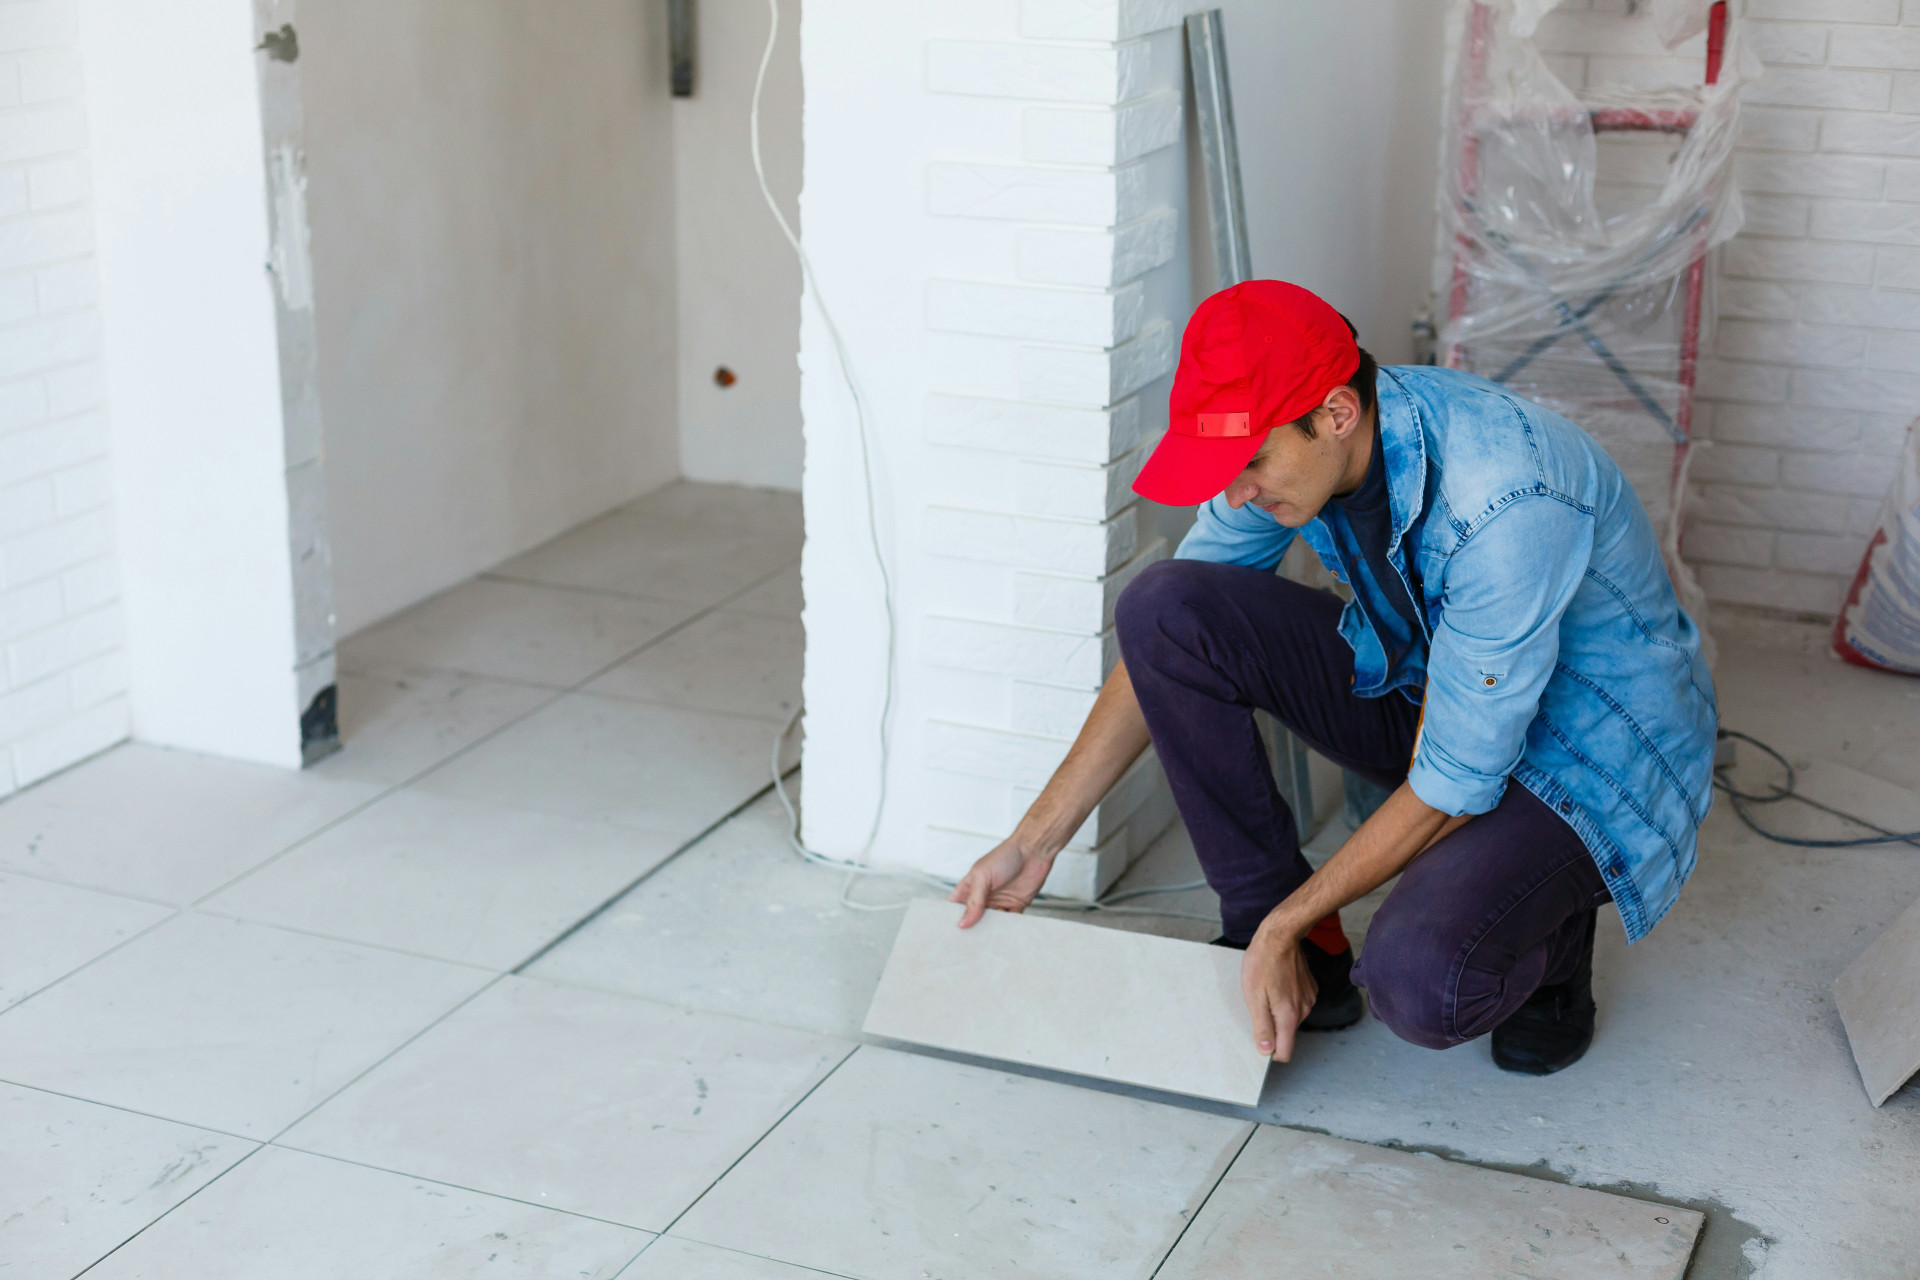
Vinyl flooring can give your home a stylish, durable, and easy-to-maintain finish – but only if it’s installed correctly. Many DIY projects end up with bumps, gaps, or uneven surfaces because the preparation wasn’t done properly. Here’s a guide to help you avoid the most common mistakes when laying vinyl flooring, so you can achieve a professional result that lasts for years.
1. Don’t Skip the Preparation
The biggest mistake many people make is rushing into the installation without proper preparation. Vinyl needs a clean, dry, and level subfloor. Even small imperfections can show through and ruin the final look.
Start by removing any old flooring, nails, and adhesive residue. Check that the subfloor is flat using a long spirit level or straight edge. Fill any holes or dips with a suitable floor levelling compound. A smooth, even base is the foundation of a great-looking floor.
2. Allow the Vinyl to Acclimatise
Vinyl expands and contracts with changes in temperature and humidity. If you install it straight from the packaging, it may warp or develop gaps later.
Let the vinyl planks or sheets acclimatise in the room where they’ll be laid for at least 24–48 hours before installation. Keep the room at a stable temperature – ideally between 18°C and 25°C. This allows the material to adjust to the environment and reduces the risk of movement after fitting.
3. Choose the Right Underlay
Not all vinyl floors require underlay, but many benefit from it. The right underlay can smooth out minor imperfections, reduce noise, and make the floor more comfortable underfoot. However, using the wrong type can cause problems – a soft underlay may make the joints flex, while a hard one can make the floor feel rigid.
Always follow the manufacturer’s recommendations. Some click vinyl products come with built-in underlay, and adding another layer can actually cause damage or instability.
4. Measure and Plan the Layout
A professional finish depends on careful planning. Many DIYers start laying planks from one corner without considering the layout, which can result in uneven edges or awkward cuts.
As a general rule, lay vinyl planks in the direction of the longest wall or towards the main source of natural light. Measure the room and plan your layout so you don’t end up with very narrow planks along the walls. You may need to trim the first row slightly to ensure a balanced look on both sides.
5. Leave an Expansion Gap
Vinyl flooring needs space to expand and contract. If you fit it tightly against the walls, it can buckle or lift when temperatures change. Leave a 5–10 mm expansion gap around the perimeter of the room, using spacers as you go. The gap will later be covered by skirting boards or trim, so it won’t be visible.
6. Take Care with Click Systems and Joints
Click vinyl is popular because it’s easy to install without glue, but it requires precision. If the joints aren’t properly locked, small gaps can appear and widen over time.
Use a tapping block and rubber mallet to ensure each plank clicks securely into place. Don’t force the joints, as this can damage the locking mechanism. Work methodically, row by row, and check regularly that the seams are tight and aligned.
7. Protect Against Moisture and Clean Correctly
Vinyl is more moisture-resistant than many other flooring types, but it’s not completely waterproof unless specifically designed for wet areas. Avoid installing standard vinyl in bathrooms or other areas with constant moisture.
Once installed, clean your floor with a damp mop and mild detergent. Avoid abrasive cleaners or excessive water, as moisture can seep into the joints and cause the floor to lift or warp. Regular sweeping or vacuuming will help keep it looking its best.
8. Finish with the Right Details
A well-laid floor deserves a neat finish. Don’t forget to fit skirting boards or transition strips – they protect the edges and give the room a polished look. Choose trims that complement your flooring and décor, and make sure they’re fitted without pinning the floor down.
Læs også:


A Great Result Takes Patience
Laying vinyl flooring isn’t difficult, but it does require care and attention to detail. Most mistakes happen when people rush or skip steps. Take your time with the preparation, follow the manufacturer’s instructions, and work carefully – and you’ll end up with a floor that looks professional and stands the test of time.
Læs også: