Ready to Paint: How to Prepare Rooms You Use Every Day

Ready to Paint: How to Prepare Rooms You Use Every Day
Painting a room you use every day – such as your living room, kitchen, or bedroom – takes a bit more planning than tackling a spare room or hallway. It’s not just about picking the perfect shade; it’s about creating the right conditions for a smooth, lasting finish without turning your daily routine upside down. Here’s a practical guide to help you prepare your most-used spaces so your painting project runs efficiently and with minimal disruption.
Plan Ahead
Before you open a tin of paint, take some time to plan. Think about when it will be most convenient to paint – perhaps over a weekend or during a few days off, when you can move furniture and allow the paint to dry properly. If you’re painting a room you use every day, you may need to temporarily relocate activities to another part of the house.
Create a realistic schedule that includes preparation, painting, and drying time. Many people underestimate how long it takes to cover and protect surfaces or to tidy up afterwards. A good rule of thumb is that preparation often takes as long as the painting itself.
Clear and Cover
The more space you have to work in, the easier the job will be. Start by removing as much furniture as possible. Move any remaining pieces to the centre of the room and cover them with dust sheets or old bed linen. Take down curtains, pictures, and light fittings.
Protect the floor with decorator’s paper or plastic sheeting, and secure the edges with masking tape. It might seem like a small detail, but it will save you a lot of cleaning later. Make sure the tape is firmly pressed down, especially along skirting boards and door frames.
Clean the Walls Thoroughly
Even the best paint won’t adhere properly to dusty or greasy surfaces. Cleaning is therefore an essential step. Use a mild detergent solution or a sugar soap cleaner to wash the walls with a sponge. Rinse with clean water and allow the surface to dry completely before moving on.
In kitchens and bathrooms, you may need to degrease more thoroughly, especially around cookers and sinks. In living rooms and bedrooms, a light wipe-down is usually enough.
Repair and Prepare the Surfaces
Once the walls are clean, any imperfections will be easier to spot. Fill holes and cracks with filler, and let it dry before sanding the surface smooth. Use fine-grit sandpaper to avoid scratches, and remove sanding dust with a dry cloth or vacuum.
If the walls were previously painted with a glossy finish, lightly sand them to help the new paint adhere better. Consider applying a primer if you’re painting over dark colours or stains.
Ensure Good Ventilation
When painting rooms you use daily, fresh air is important. Open windows and doors to create airflow, but avoid direct draughts on freshly painted surfaces, as this can cause uneven drying. Water-based paints have minimal odour, but ventilation still helps the room become usable again more quickly.
Paint in Stages
If you can’t completely vacate the room, paint in stages. Divide the space into sections and paint one wall at a time. This allows you to continue using parts of the room while the paint dries. However, for the best finish, it’s ideal to complete an entire wall in one go to avoid visible joins or colour variations.
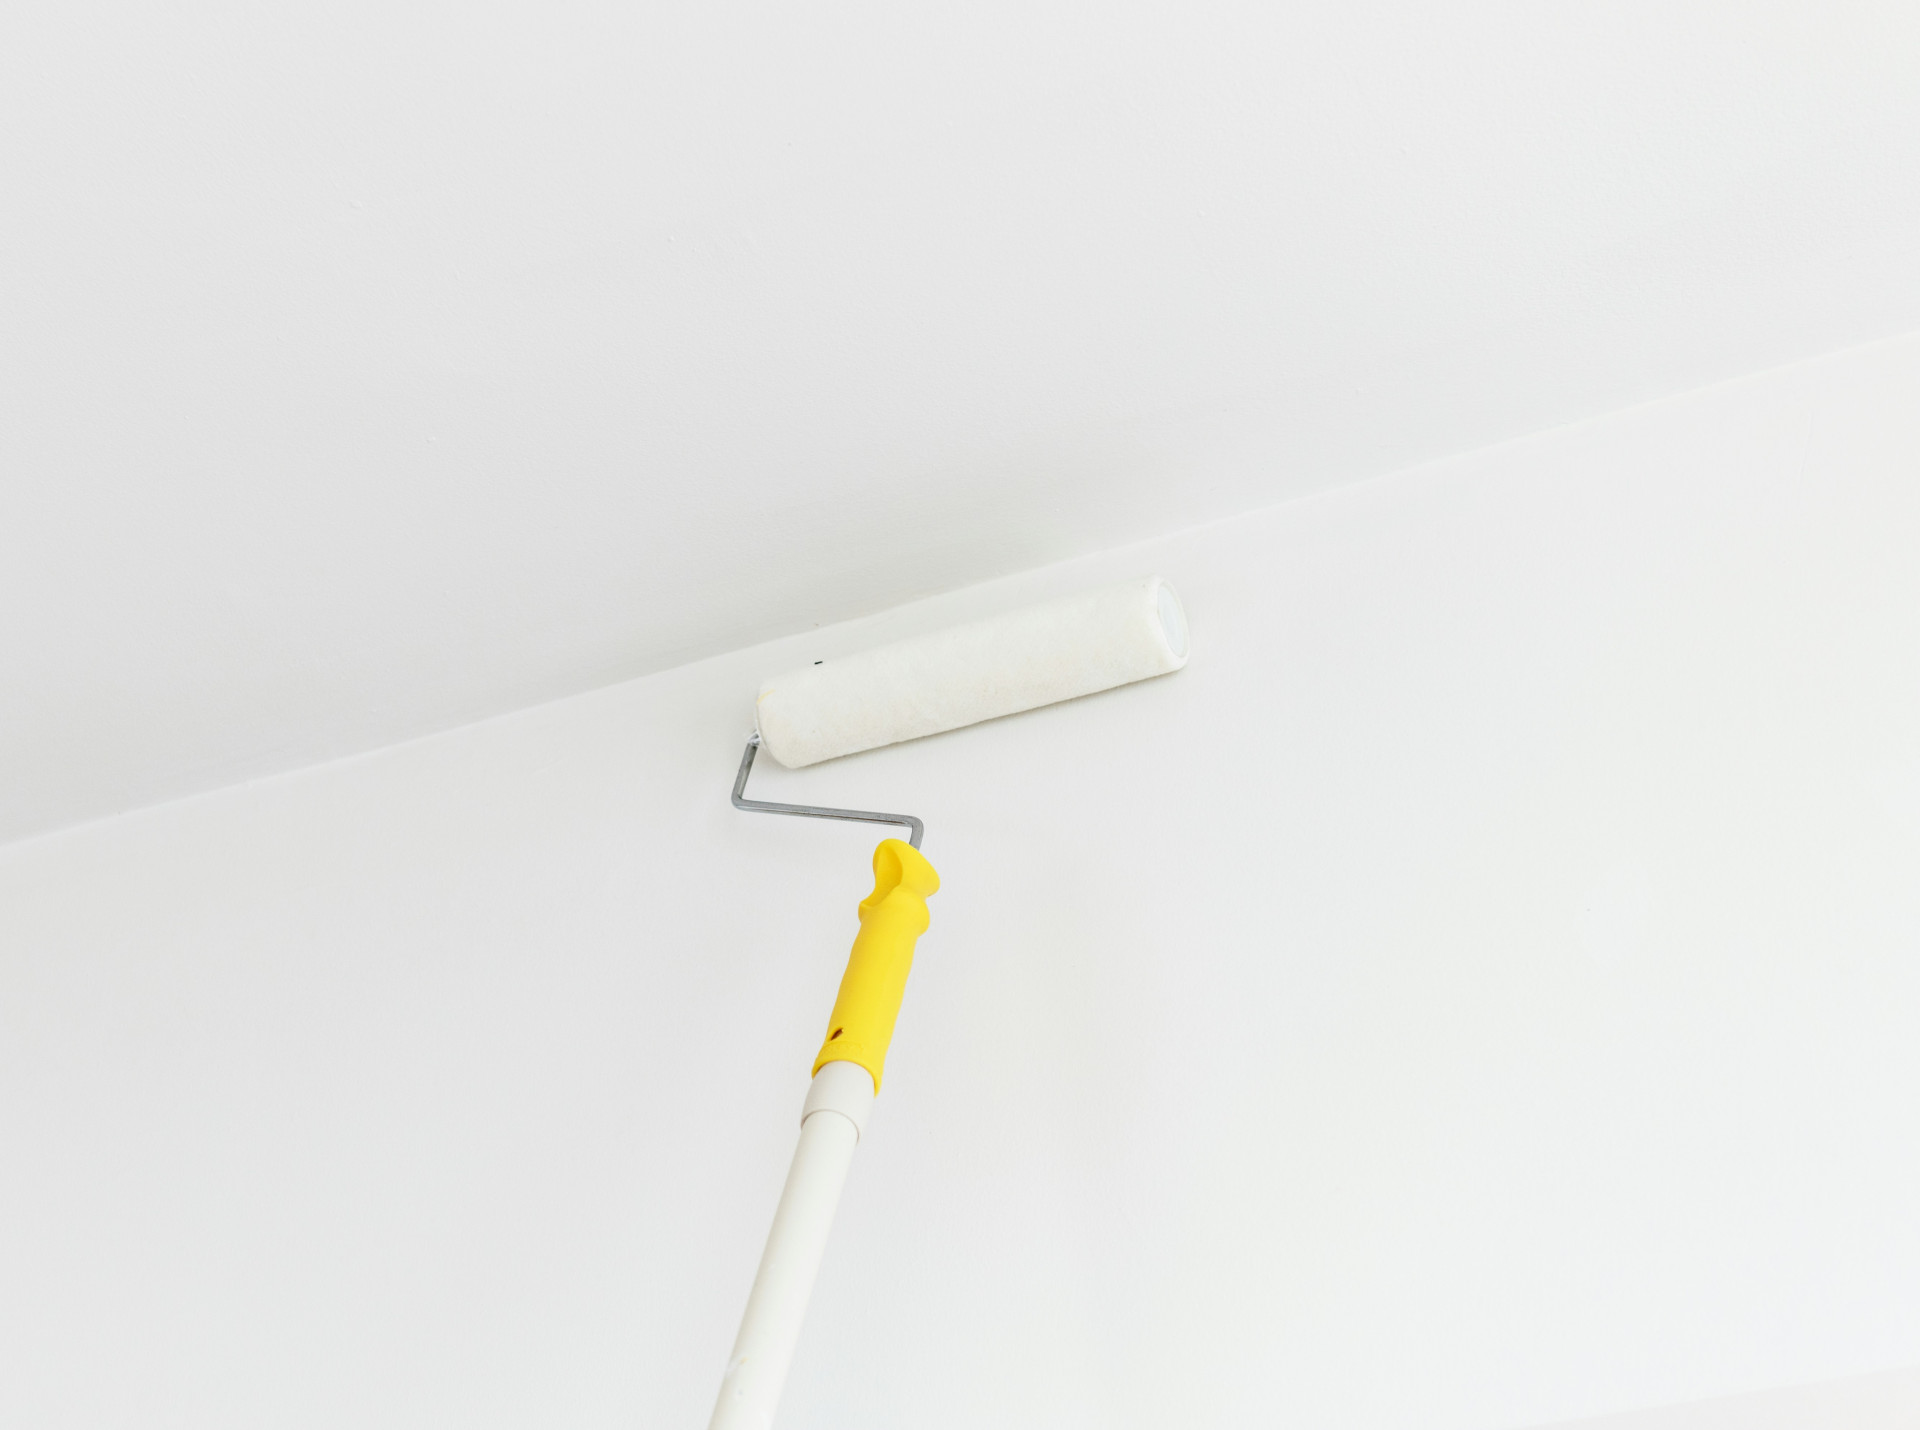
Think about the order of work too: start with the ceiling, then move on to the walls, and finish with skirting boards and trim. This sequence helps you achieve a neat, professional result.
Get the Room Ready for Use Again
Once the paint is dry, carefully remove the masking tape, pulling it away from the wall at an angle. Wait a couple of days before rehanging pictures or curtains to allow the paint to fully cure. Clean brushes and rollers straight away so they’re ready for next time.
Before moving furniture back, take the opportunity to rethink your layout. A freshly painted room can inspire a new arrangement or a few decorative updates. Sometimes a new wall colour can make the whole space feel refreshed and more inviting.
A Great Finish Starts with Preparation
It’s tempting to jump straight into painting, but the quality of your preparation determines the quality of your results. By taking the time to get the room ready properly, you’ll not only achieve a more attractive finish but also one that lasts for years.
So next time you pick up a paint roller, remember: the most important work happens before you even open the paint tin.